Wednesday, March 30, 2011

Welcome Home Wednesday

Welcome back to another look at a room make-over in my house.  This week its all about our enclosed porch!  This porch was not inviting, and so ugly before I got busy making it a place we want to hang out at.
Take a long and narrow space and then slap on some 'Kangacarpet' in both print and olive green - YIKES!
First we took down the railing/gate & then we rolling up the carpet.  Thankfully it wasn't glued down any where but on the steps!  It took some scraping but we got the glue up, washed everything down really good.  Then a can of brick porch paint from Menards - rolled on with a paint roller (and trimmed out with a brush)
Above pic you can see our retro front door (that I'm not crazy about) but after painting it the black in the pic its not SOOOOoooo bad.
 It took some shopping but we found this 6 piece Lazy-Boy Patio set for 
$299 on clearance at Sam's Club!!
It was exactly the colors I wanted and its held up beautifully - Lazy-Boy did a great job making this!!  We added a few 'touches' (candles, a fun rug, lots of live plants). Finally its a place where I love to sit and read or nap in the summer. 

Tuesday, March 29, 2011

Tasty Tuesday

 Time to share a recipe or two on Tuesday!  To keep myself & family from making 'fast' food selections I plan out a menu for the week - check out a couple of this week's selections.  
Happy Tasty Tuesday!!

********** 

Check out the BBQ Chicken Baker (Baked Potato)
1 Baked Potato per person (we did them in the microwave this time) - split open after baking
1 Container 'Curly's BBQ Chicken' - you can also use beef or pork and make your own.
Shredded Sharp Cheddar Cheese
Sour Cream
You can also top it up with bacon bits, green onions, more BBQ - the possibilities are endless!  Split the potato open and top to your hearts content.  It's so YUMMY and so simple (especially when you use pre-made BBQ meat)

**********

Chicken Pot Pie
(This one I like to make the  night before and re-heat, its one of those better the next day) 
2 cans cream of potato soup
1 (16 oz.) can Veg-All, drained
2 c. diced cooked chicken(we use boneless skinless tenders cut up)
1/2 c. milk
1/2 tsp. thyme
1/4 tsp. black pepper
2 (9") pie crusts (one for top)1 egg, beaten,
Combine first 6 ingredients. Spoon into crust. Top with the top crust. Crimp edges to seal. Slit top crust and brush with egg if desired. Bake at 375 degrees for 40 minutes or until crust is done. Cool 10 minutes.

**********

Need some dessert - love choc chip cookies but want to switch it up?  
How about at Southern Chocolate Chip Pie
(this recipe straight from the kitchen of my Alabama Family and seriously the easiest dessert with the best reviews I have ever gotten!) 
Do not use an electric mixer or over mix the batter.
1 stick of butter, melted and cooled to room temp.
1 c. sugar
1/2 c. flour
2 eggs
1 tsp. vanilla
1 c. choco. chips
1/2 c. chopped nuts

Mix sugar and flour together. Add butter, eggs and vanila, mix briefly. Add choc. chips and nuts.  Pour into unbaked pie shell. Bake 325 for 1 hour. Makes 1 pie.
Eat warm or cold. Add cool whip or not. (I recommend warm with real whipped topping!)

Saturday, March 26, 2011

Repurpose!

The first time I spotted these at a consignment shop I passed them by...  That night I thought about them and had a brilliant idea to re-purpose some old candle sconces.  So back to the store I went and there they were, waiting on me... 
They were white and ugly 3 of them for $1.
 I also discovered this spray paint cap for $2.47 at Walmart - it is my new favorite invention!  Pops right on top of the spray paint can - no more paint on my finger - sprays evenly with no drips - its WONDERFUL!
 The new candle sconces re-purposed (like the painting - my brother did it for me - I love it!)
 Scones are my new necklace holders!!
 Serve a perfect purpose and are helped decorate my wall!
You can also check out our painted wall-paper.  There were only 2 rooms we didn't de-paper and both had this white paintable wallpaper that the previous owner had left white.  

Weekend Bargains

On the weekends I like to checkout the local consignment shops or some days take a road trip to find some place fresh & new.  This weekend I went car shopping with my Mom and we found an indoor Garage Sale after a couple test drives.  We got there late in the day so most of it was picked over but I did find these gems.
 $2 Towel holder for a bathroom - I think it will be really cute after I re-purpose and make it over.
 $1 Zebra Statue!  My original plan was to paint it pink ;-)  My kids aren't so sure about that idea - we'll see...
 
$1 top & $1 American Rag Jacket
2 Mirrors - $.25 each!  I unscrewed the mirrors and a coat of spray paint later - Waaa Laaa!
If you are ever in the Delphos Ohio area - the Inter Faith Thrift Store is totally worth checking out!  So much so that people literally line up at the door and around the block waiting for it to open!  They are only open 8 hours total a week - Thur 5-7, Fri 1-4, Sat 9-12.  
The prices are fantastic & everything is clean and neat.  
You may have to wait in line to check out, it is crowded, people can be rude and territorial if you try to eyeball something they are standing by... (not kidding!)  All that said the prices and constantly changing inventory out weigh the cons for me!  Books for .25, Clothing $1, Shoes $1, lots of nice clean toys - cheap & clean.

Wednesday, March 23, 2011

Welcome Home Wednesday

We bought our 1.5 story ranch in September 2008 with the intention of making it our own.  The entire house was covered in paneling, wallpaper, shag carpet, full out 70's orange & green decor.  YIKES!  
I really really really hoped I would pull back the carpet and find hardwood underneath - alas nothing but boring ol' subflooring.  Our entire budget for our home make-over was $1,200 (1900 sq ft home) - this was for paint & lighting & window treatments.  I'm a die hard bargain hunter so this was great fun for me!
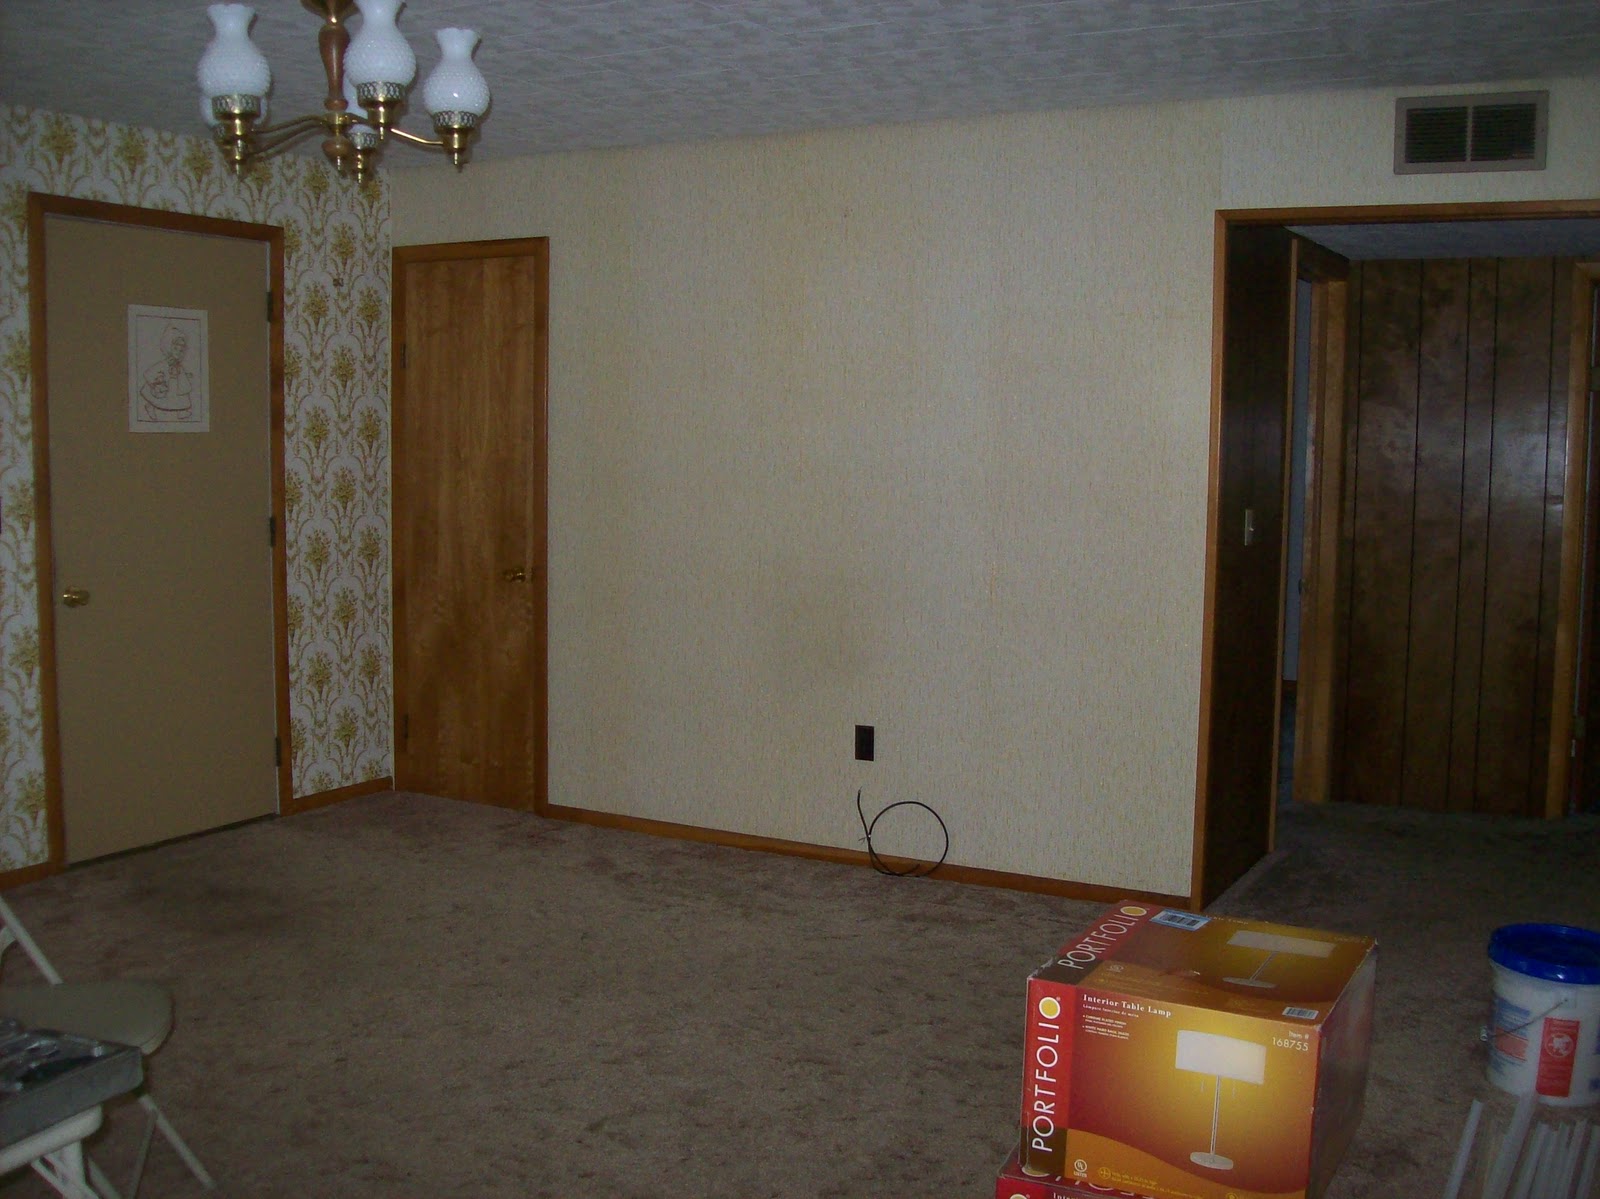
Today we'll visit what would become our Formal Living Room
 This is after I tore down some wallpaper.  Check out little Red Riding Hood stenciled on the door (every door had some strange cartoon stencil on the back of the door).
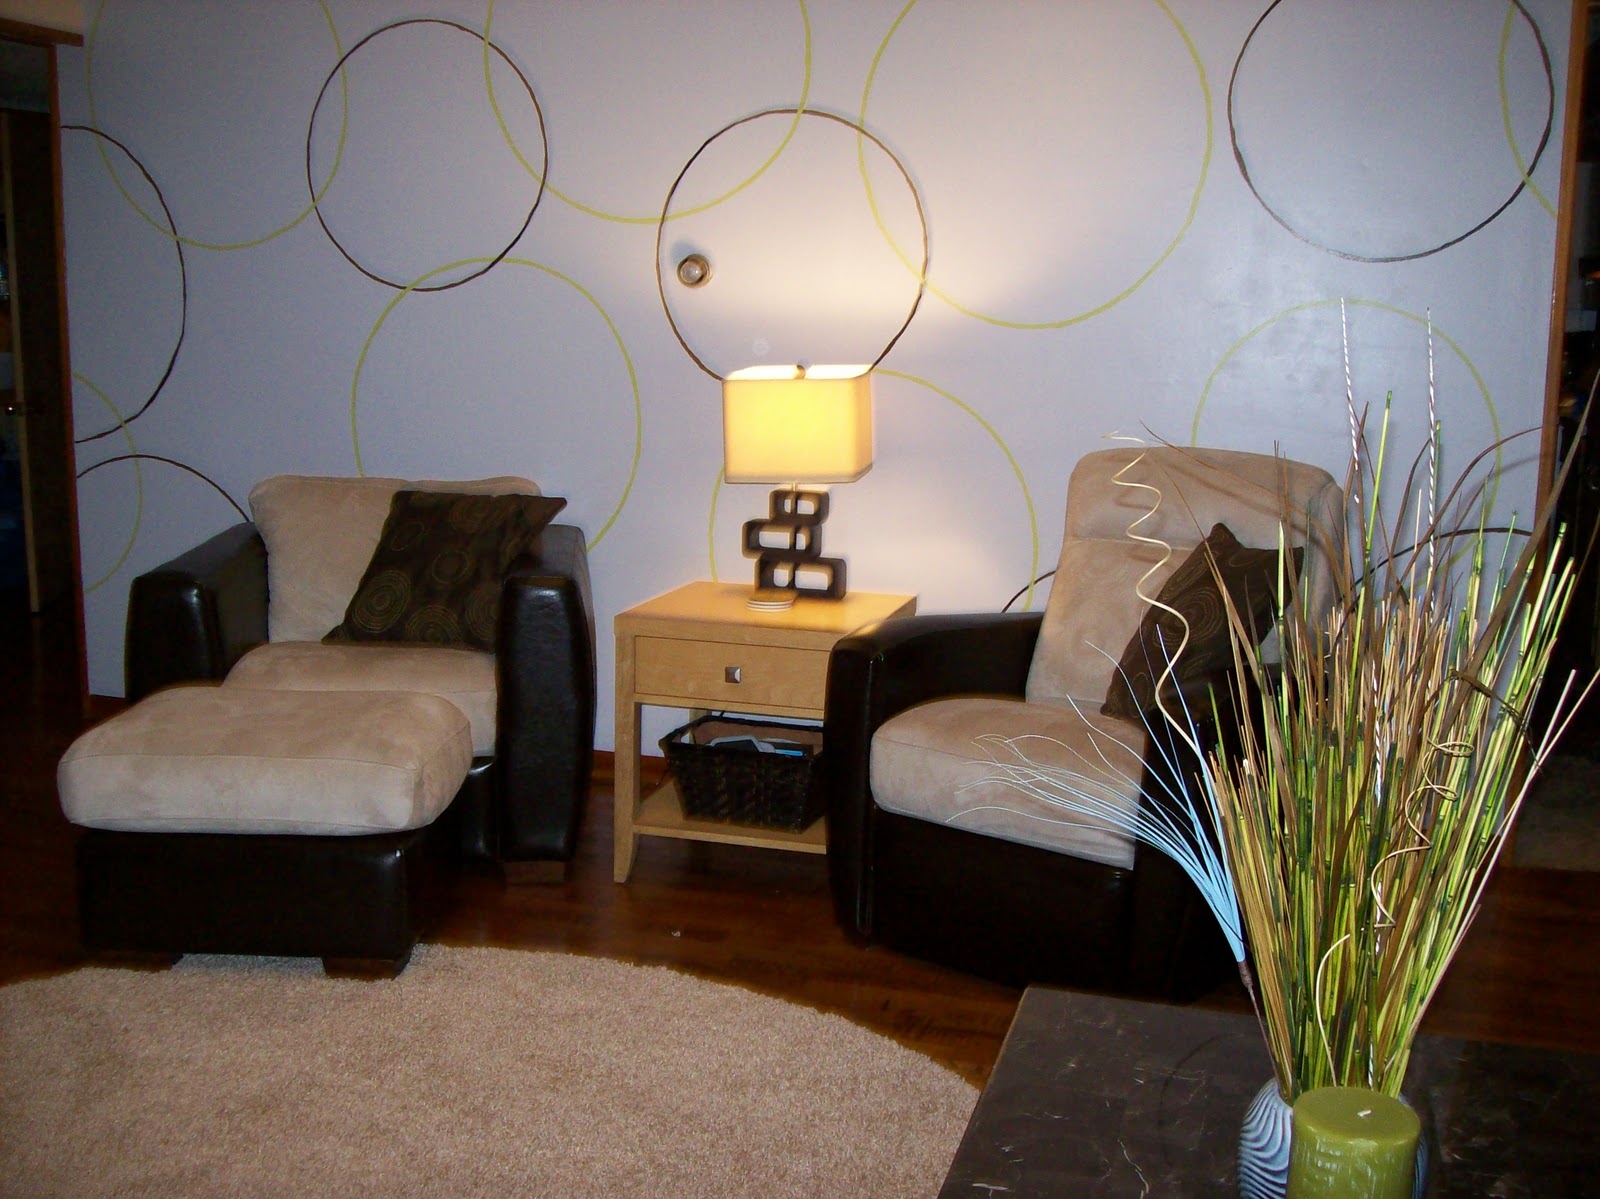
We primed and painted 3 walls 'Sand Fossil' and the 4th wall 'Icelandic' then I traced Hula Hoops for circles and painted the outline with a dark brown and lime green.
 I'm crazy about circles in decor - check out the BIG ROUND Shaggy rug!  From JCP!
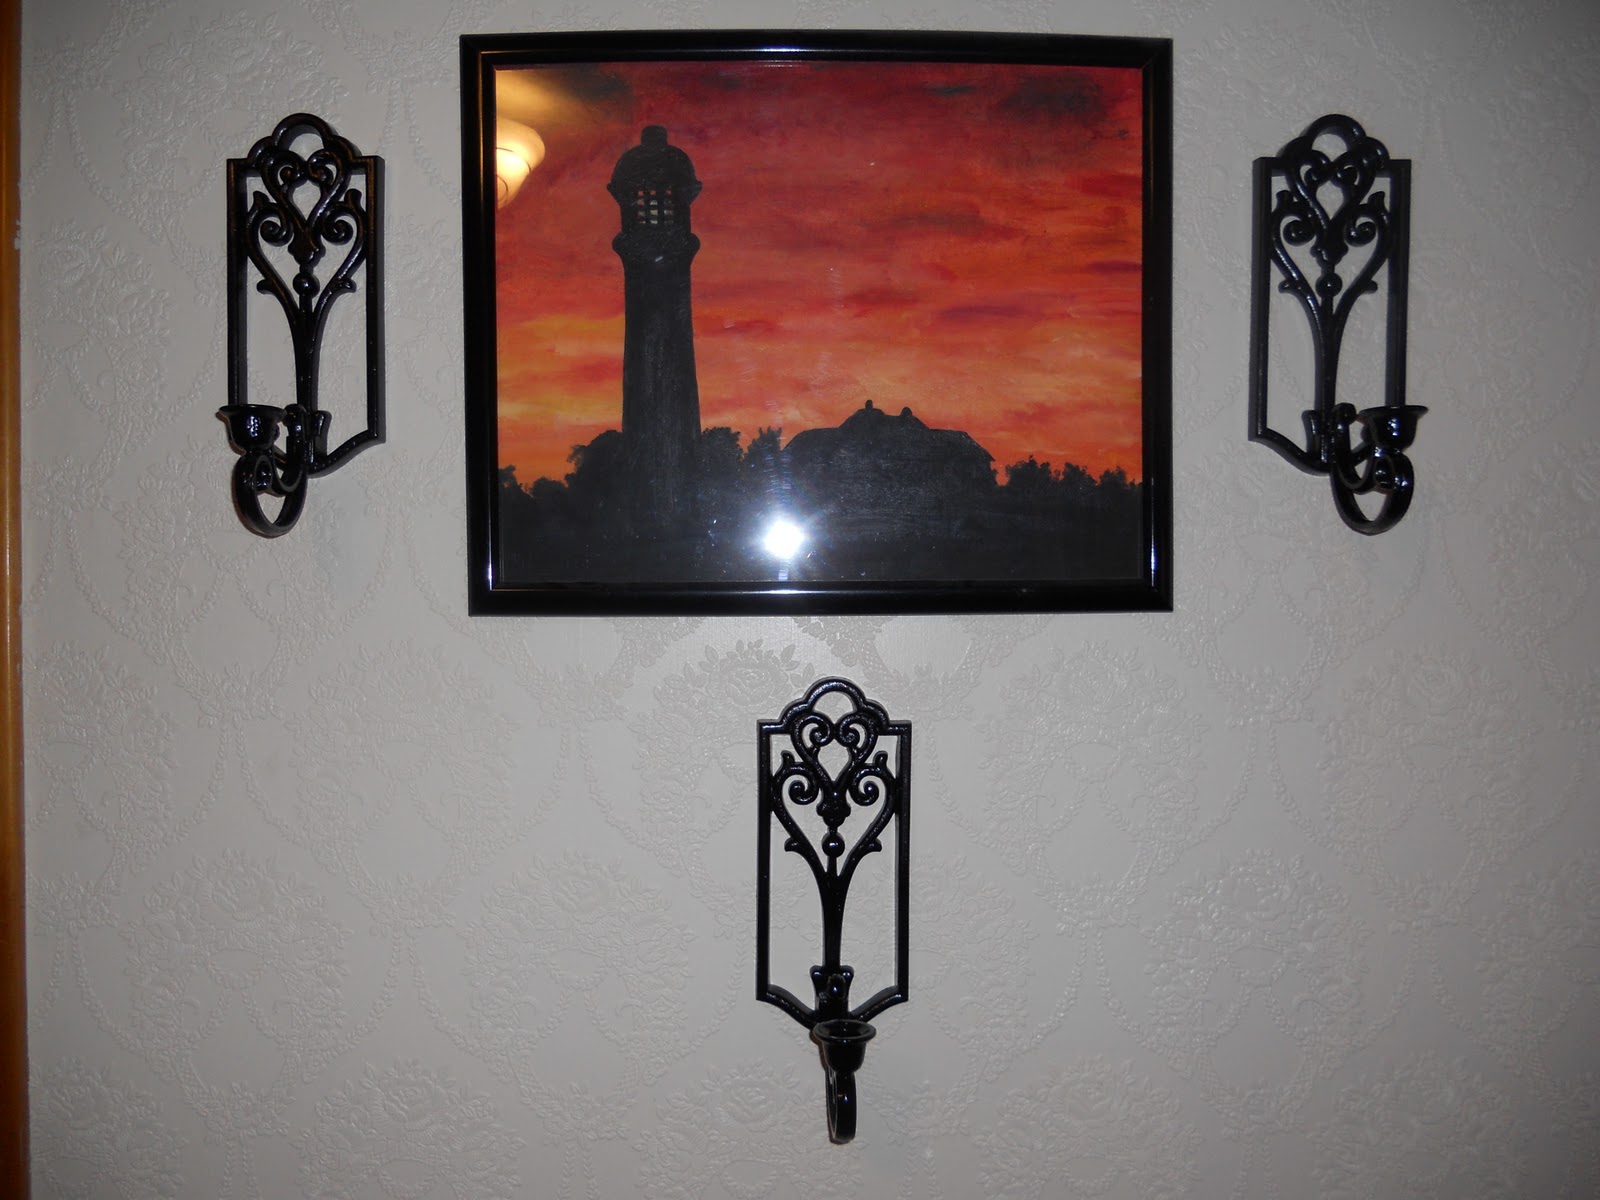
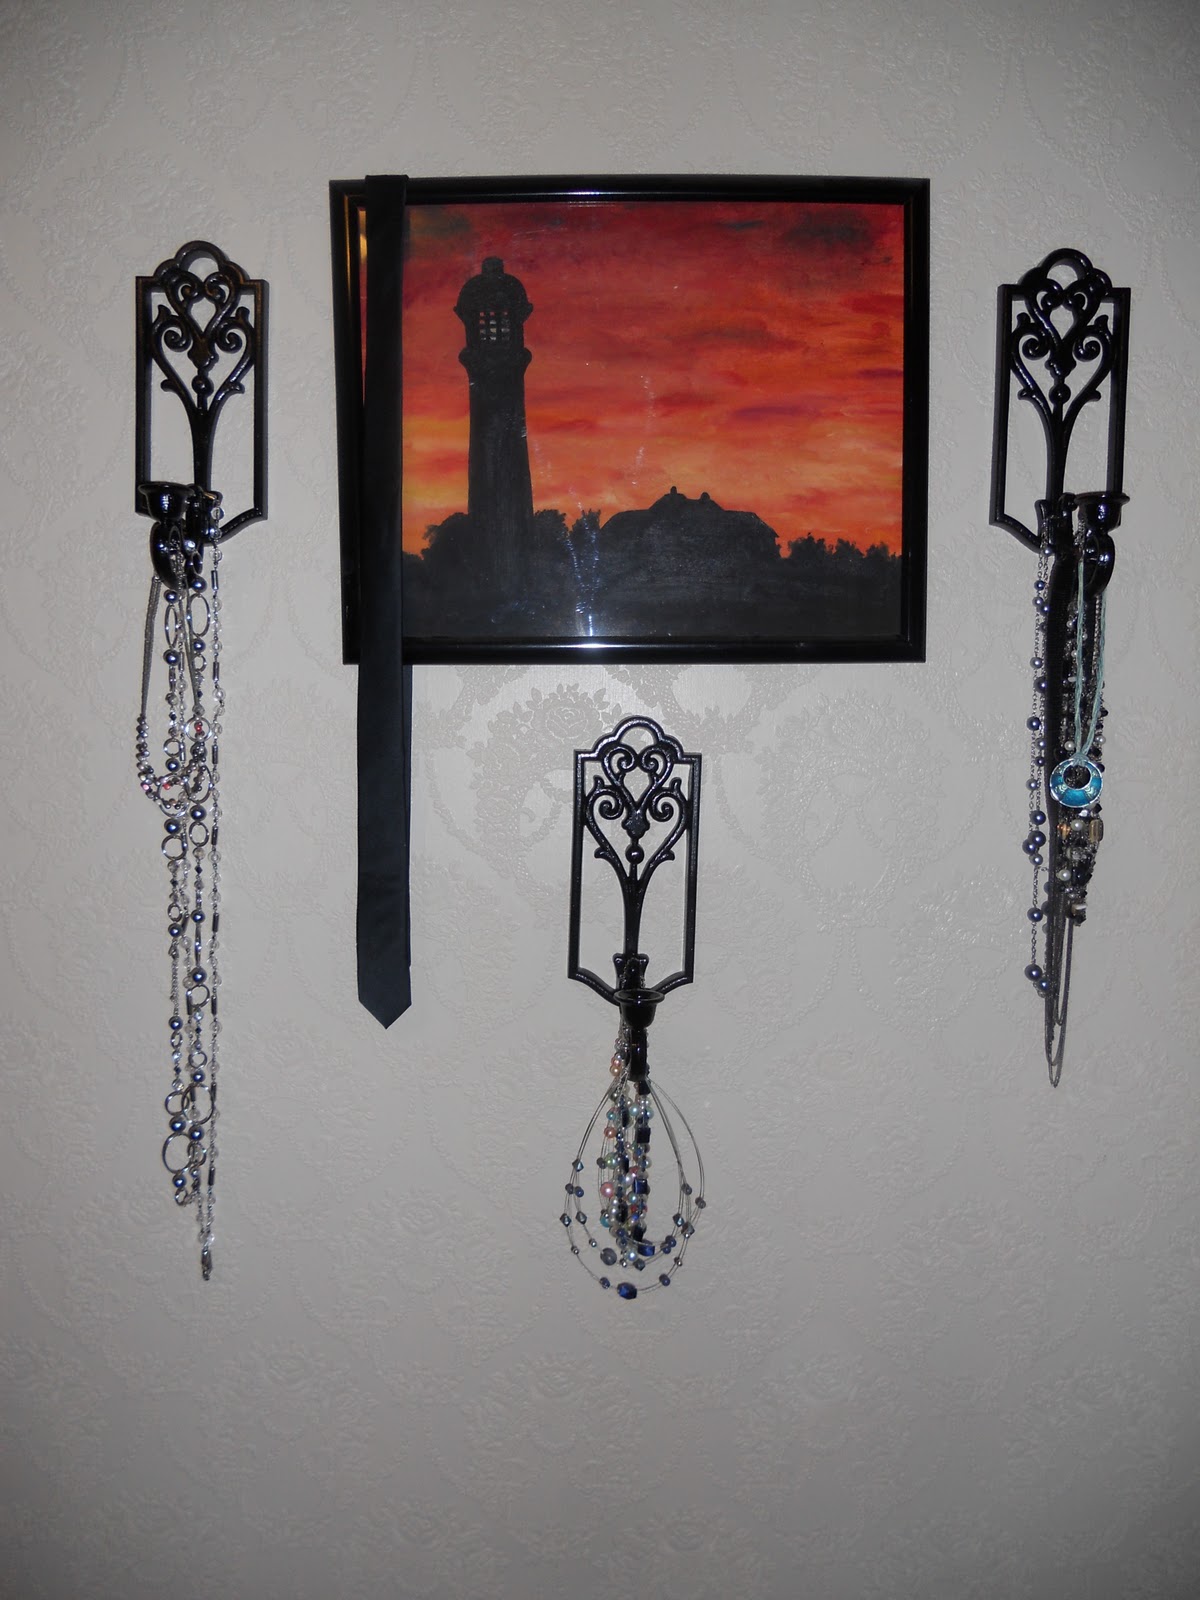
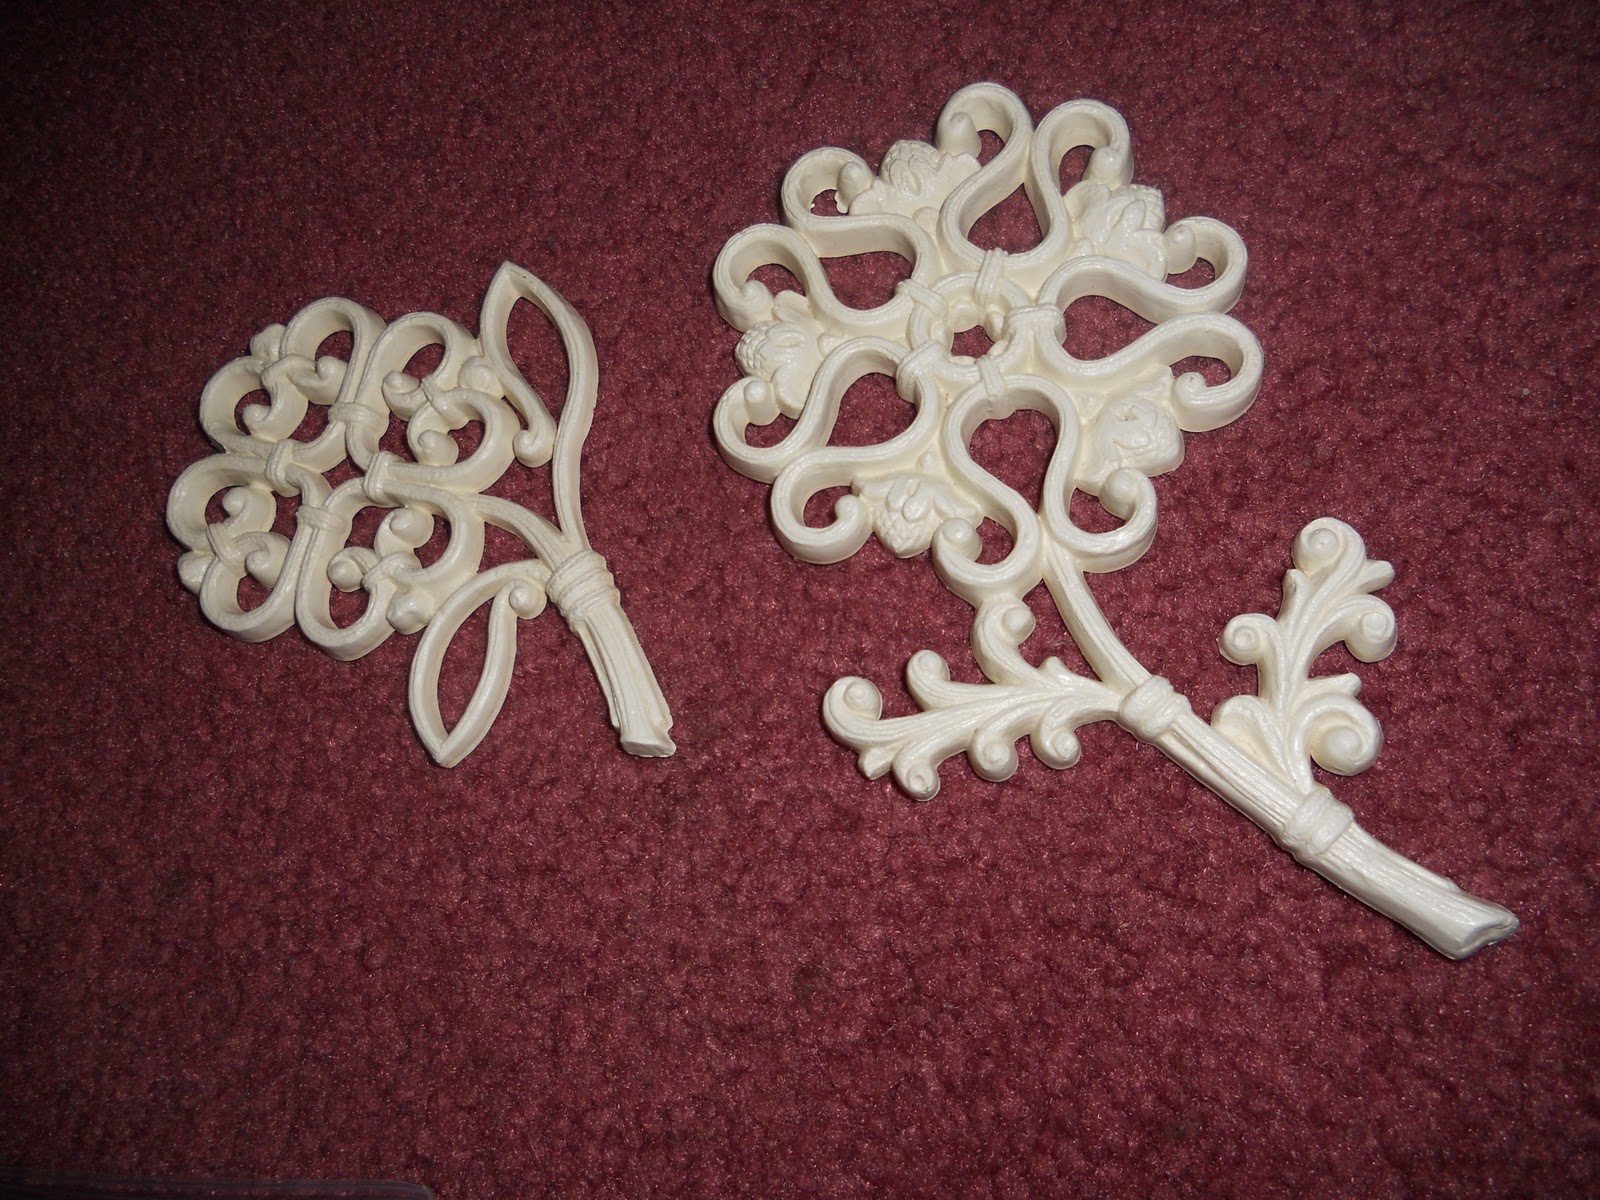
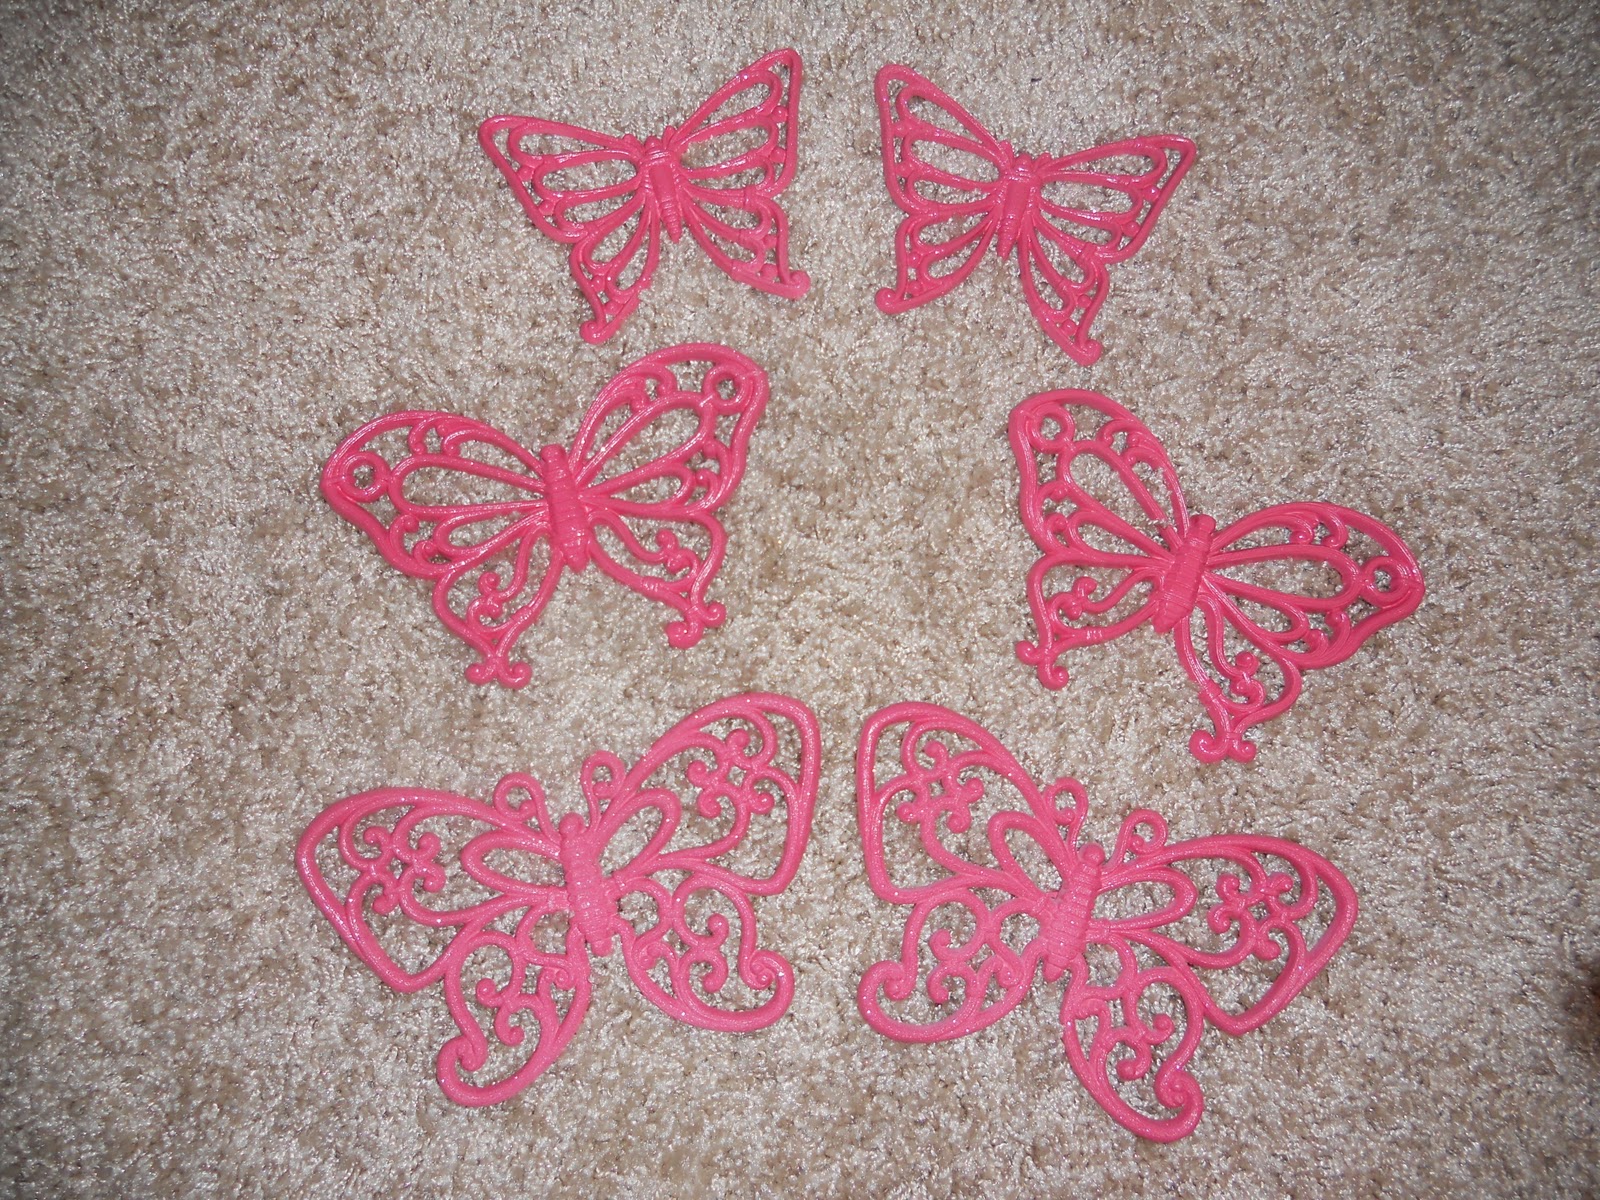
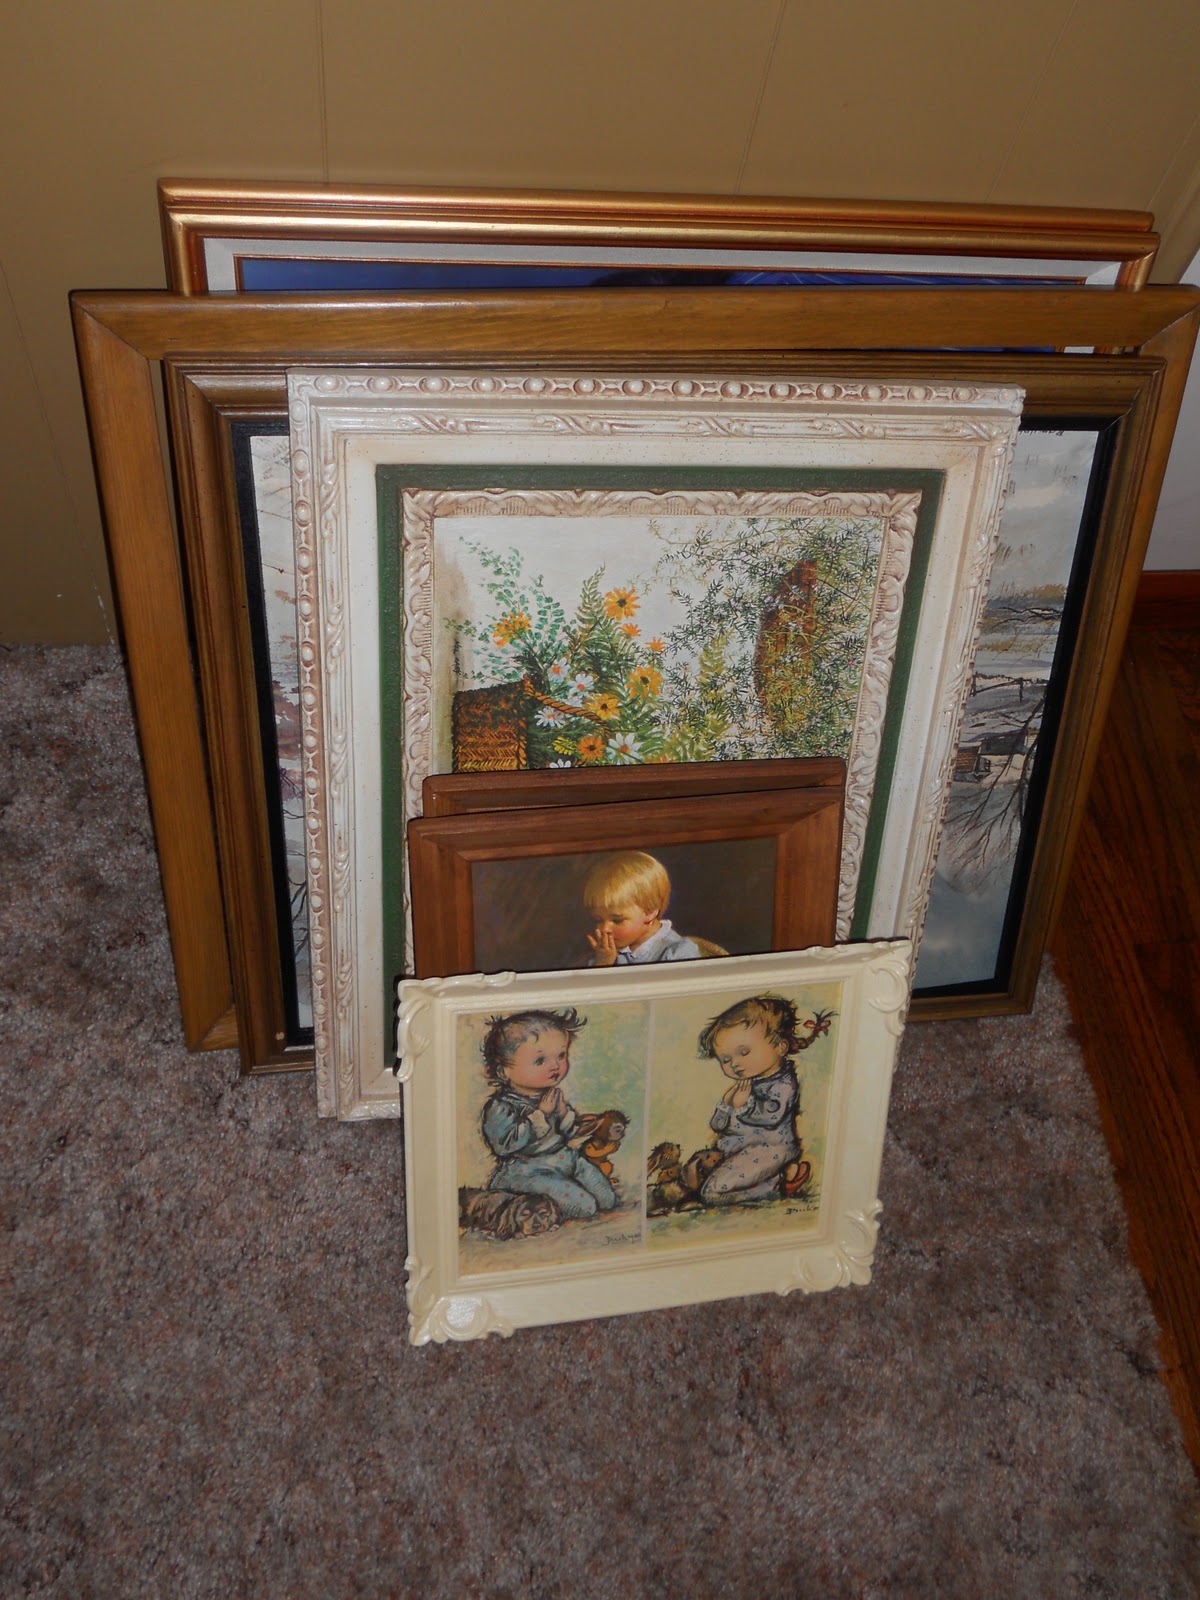
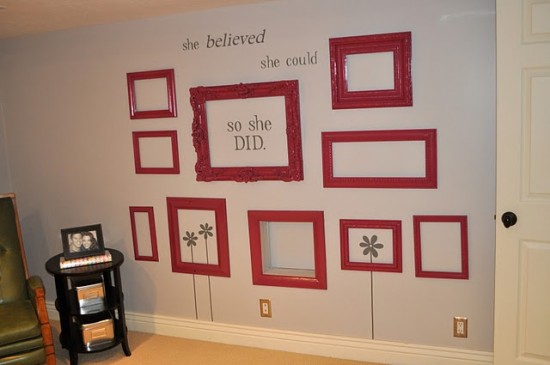
 I love this room - everything in it was a bargain!  I did the wall art myself with some canvas and left over paint.
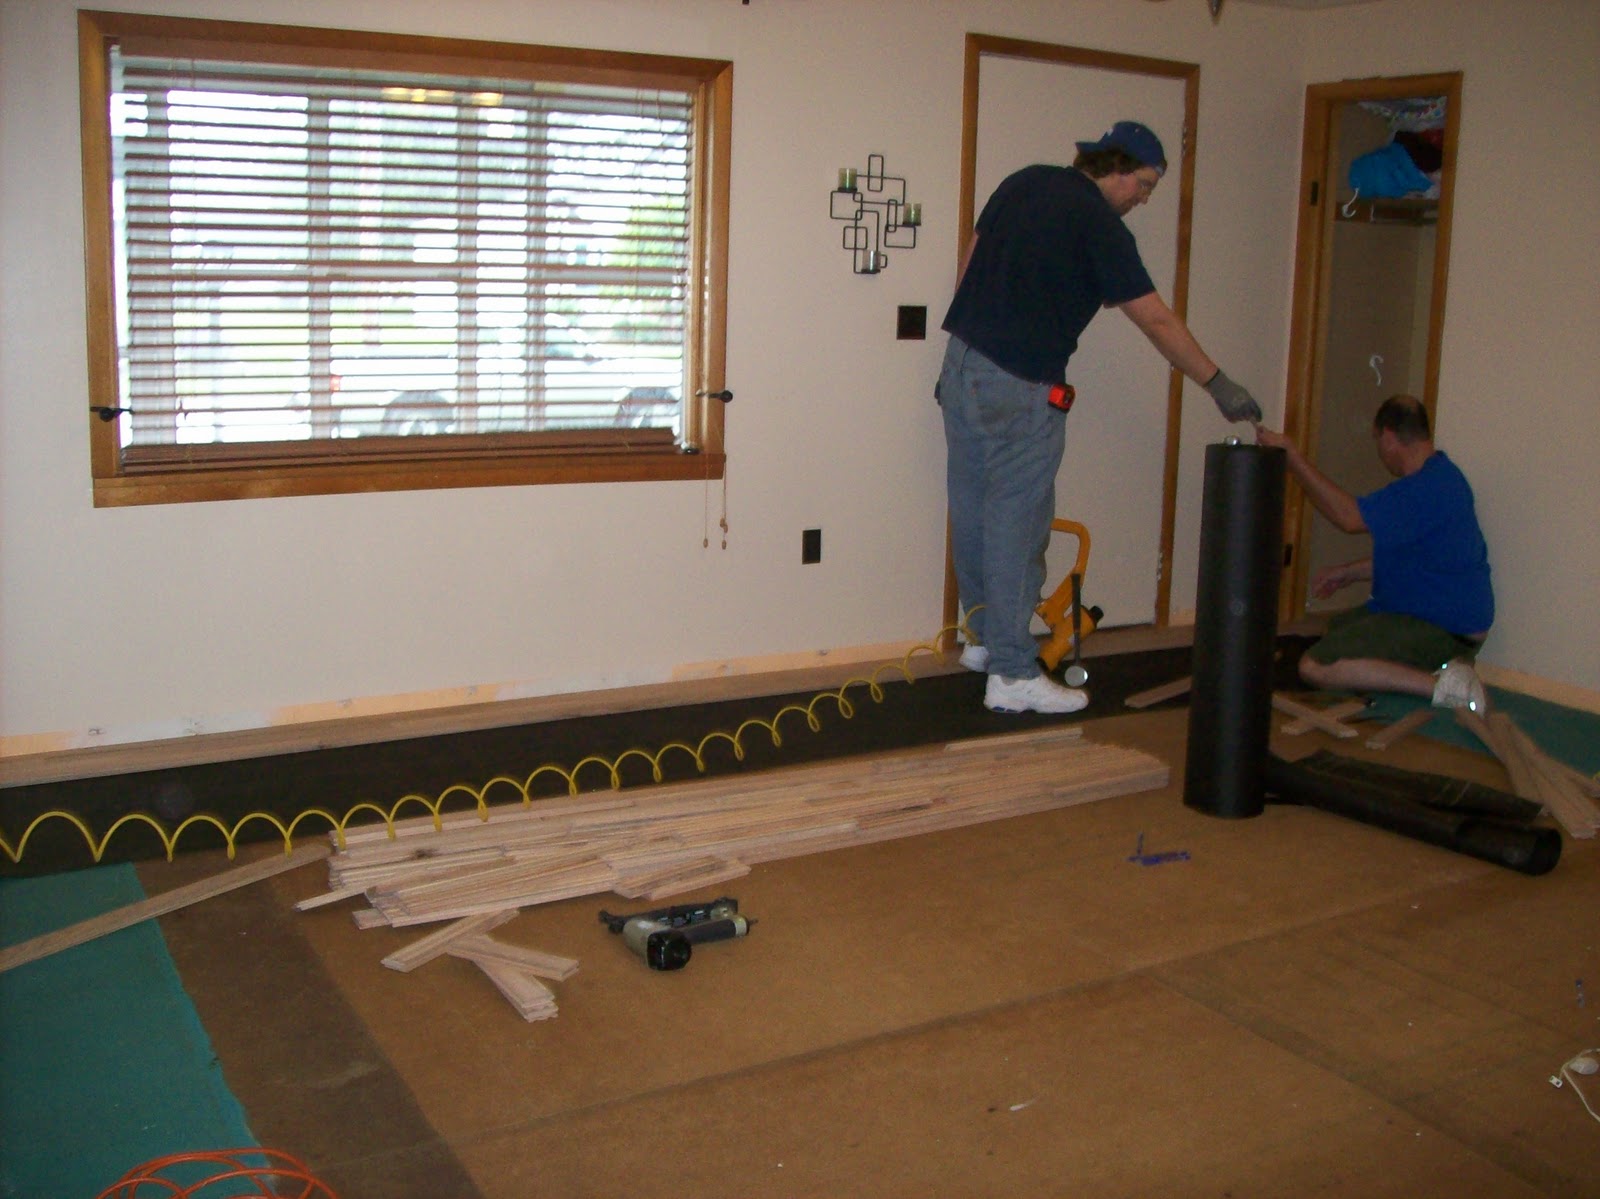
My favorite part of this room is the hardwood floor.  We laid it ourselves (with the help of 2 awesome friends!  They had both recently laid the exact same flooring in their homes).  Its Red Oak Solid hardwood - no fake stuff for us!  It was hard work but so rewarding ;-)  Plus we got it on the cheap - entire room plus hall including stain cost us $480 - compared to the $2000 we had been quoted.
 We tore up the carpet & padding (which for me was the worst part - picking out staples).  Under the carpet we found that our floor had hills and peaks - it wasn't flat...  But that hasn't caused any problems and you can't even tell!
 We laid down tar paper (left-over from our DIY roof)
 Hardwood boards!
 Next was laying the boards correctly, cutting the ends, and stapling them to the door
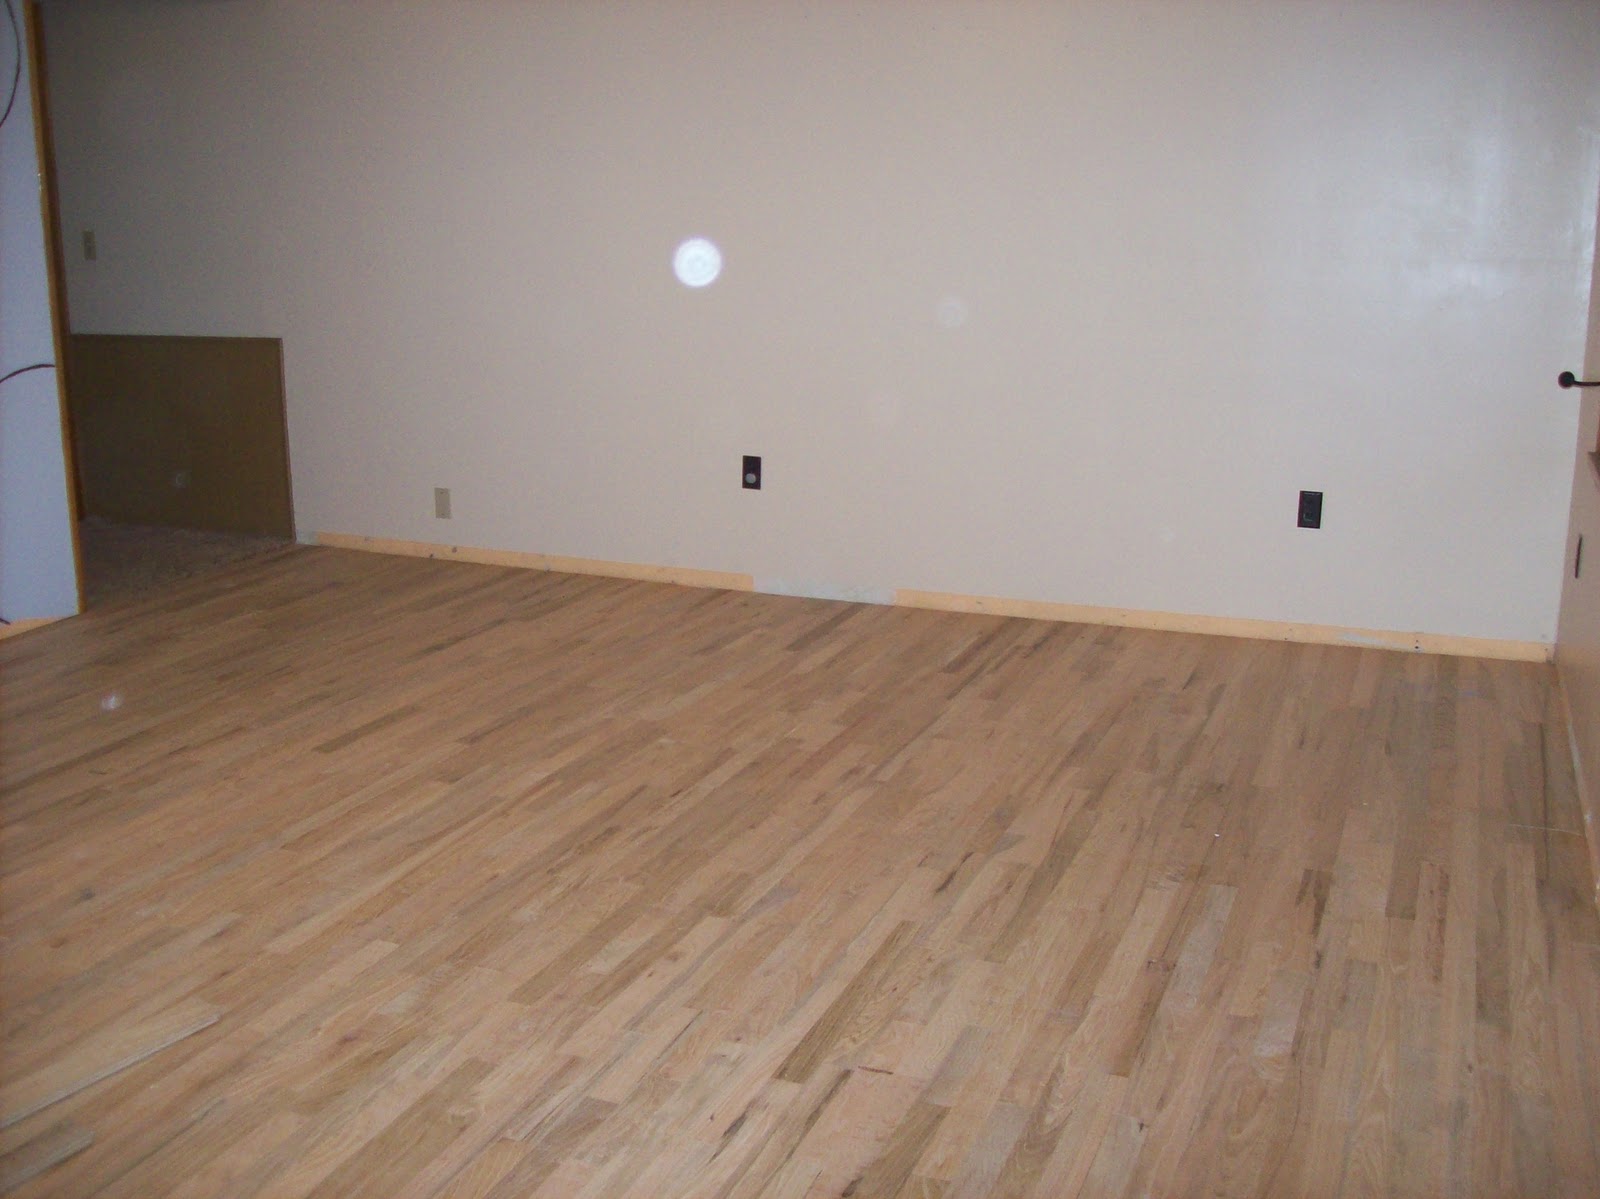
Almost done!
Pretty dark stain - I was nervous about the dark stain since the room doesn't have a ton of light, but I wouldn't have it any other way!  The poor guys at Sherwin Williams saw me daily for about 2 weeks - each time bringing in wood scraps for them to stain so I could get an idea of what color I really wanted.  
This is by far my favorite room in the house.  No TV in there - a perfect 'sitting room' or 'parlor' just the right space to read my Bible with a cup of coffee, play cards with the friends, board games with the kids, perfect for entertaining!

Tuesday, March 22, 2011

Syroco Butterflies

If you were homemaking in the 80's these beauties may look very familiar and bring back tacky memories.  If you are like me & don't really remember the 80's then you'll appreciate the re-make of this awesome product - Syroco!
I've been eyeing these butterflies (already made-over) on Etsy.com - thinking how cute they would be in our bedroom makeovers.  On one of my thrifting trips I found a zip lock bag of 8 of them for .80¢ & another bag of 3 for .30¢.  Then at a second thrift store I discovered more.. You can only imagine my excitement!
All it took was a quick spritz of Krylon Spray Paint and a coat of glitter spray paint (a new fav product from Hobby Lobby) pretty cute makeover!

Monday, March 21, 2011

Picture Frame Wall

Upcoming Project!
A good friend was cleaning house and found all these treasures!  I've been inspired by pictures online of picture wall makeovers.  I am hoping by this summer I'll have enough to turn my 'glory bubble' wall into a wall of frames!  Thanks to Beth for the donation to my inspiration!
I've been inspired by these picture frame walls!
This one I love the dark wall with the white contrasting frames.
Again this one the contrast is great plus the various shapes, sizes, styles of frames.
This one is by far my favorite with the colored frames and writing on the wall. 

Mini Makeover Monday...

Pillar Candleholders
We received these 2 candle holders as a wedding gift several years ago.  They've been in the garage left awaiting a face lift for awhile now...
 
This was unbelievably quick and easy just using Krylon Fusion in Black Gloss (no priming).
Now they fit in perfectly!

Makeover Monday!

Remember last weekends used furniture store find?
Checkout the makeover!
Here is how it happened
1. I removed the legs and used a hammer to crack off the gold plastic from the legs.
2. Popped off the back panels and removed the shelf.
3. To paint the legs I taped off the coasters.  
4.  Poked holes in an old box  to give me a 360 angle for painting.
5. I painted everything with a can of Krylon Fusion 'the no-prep super bond paint' in black gloss.  The great thing about this paint is it requires no sanding & no priming!
6. I decided I wanted something fun for the back panels.  I picked up some butterfly fabric for $1 a yard at Wal-mart a few weeks ago.  I also had some Elmers Craft Bond Spray Adhesive on hand.  
7. I sprayed the panels with a good coat of the adhesive and then applied the fabric, adjusting as needed.
Let me know what you think.  I think it turned out pretty cute - now time to figure out which room will get to enjoy it.